Knitting with hand-dyed yarn doesn’t have to be scary! In fact, it’s not even that different from knitting with other yarn. Here I’ve listed my five most important things to keep in mind.
1. Alternate Skeins
Alternating skeins means you knit from two skeins of yarn at the same time: one or two rows from one skein, and then one or two rows from the other.
I recommend always alternating skeins if you use multiple skeins of the same color, even if they are from the same batch. Because even then colors can vary very slightly, which might not be obvious if you have the two skeins next to each other. But it can be very apparent if one half of your knitting project is a slightly different shade.
You can alternate skeins the whole way, or just a few rows towards the end of a skein – or anything in-between! Especially when I have an odd number of skeins, I like to knit with one skein until I’ve used about half of it, and then start alternating.
So far I’ve only talked about alternating skeins to prevent noticeable color blocks. Another benefit of alternating skeins is to prevent pooling with variegated yarns! Variegated yarns are those with multiple colors in the same skein (so for example imagine one with red, blue, and yellow sections). Knitting with those can lead to color pooling where the same colors (partially) align over a few rows. Sometimes this can be a cool effect, other times less so. If you want to prevent this, alternate two skeins and make sure to start them in different places of the color repeat. This will break up and minimize any color pooling!
2. Buy enough Yarn for your project
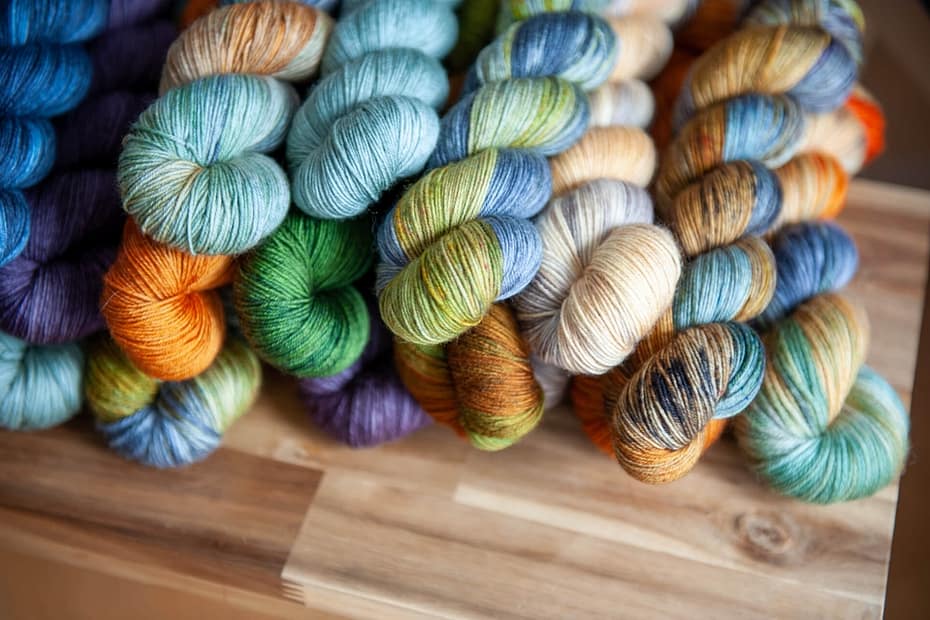
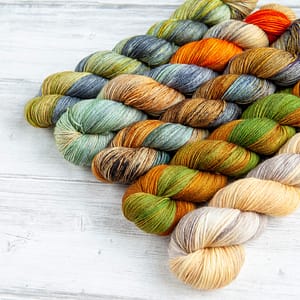
Yes, hand-dyed yarn tends to be expensive, but it’s even more annoying if you run out of yarn towards the end of the project. Often hand-dyed yarns aren’t as widely available as big-box-store yarns and are produced in smaller batches. So by the time you need more, there aren’t any available, or not from the same batch.
If you’re following a pattern, check the yardage requirements for your size! Usually, these are already quite generously calculated. If you’re not following a pattern, you can try and estimate how much you need based on similar projects.
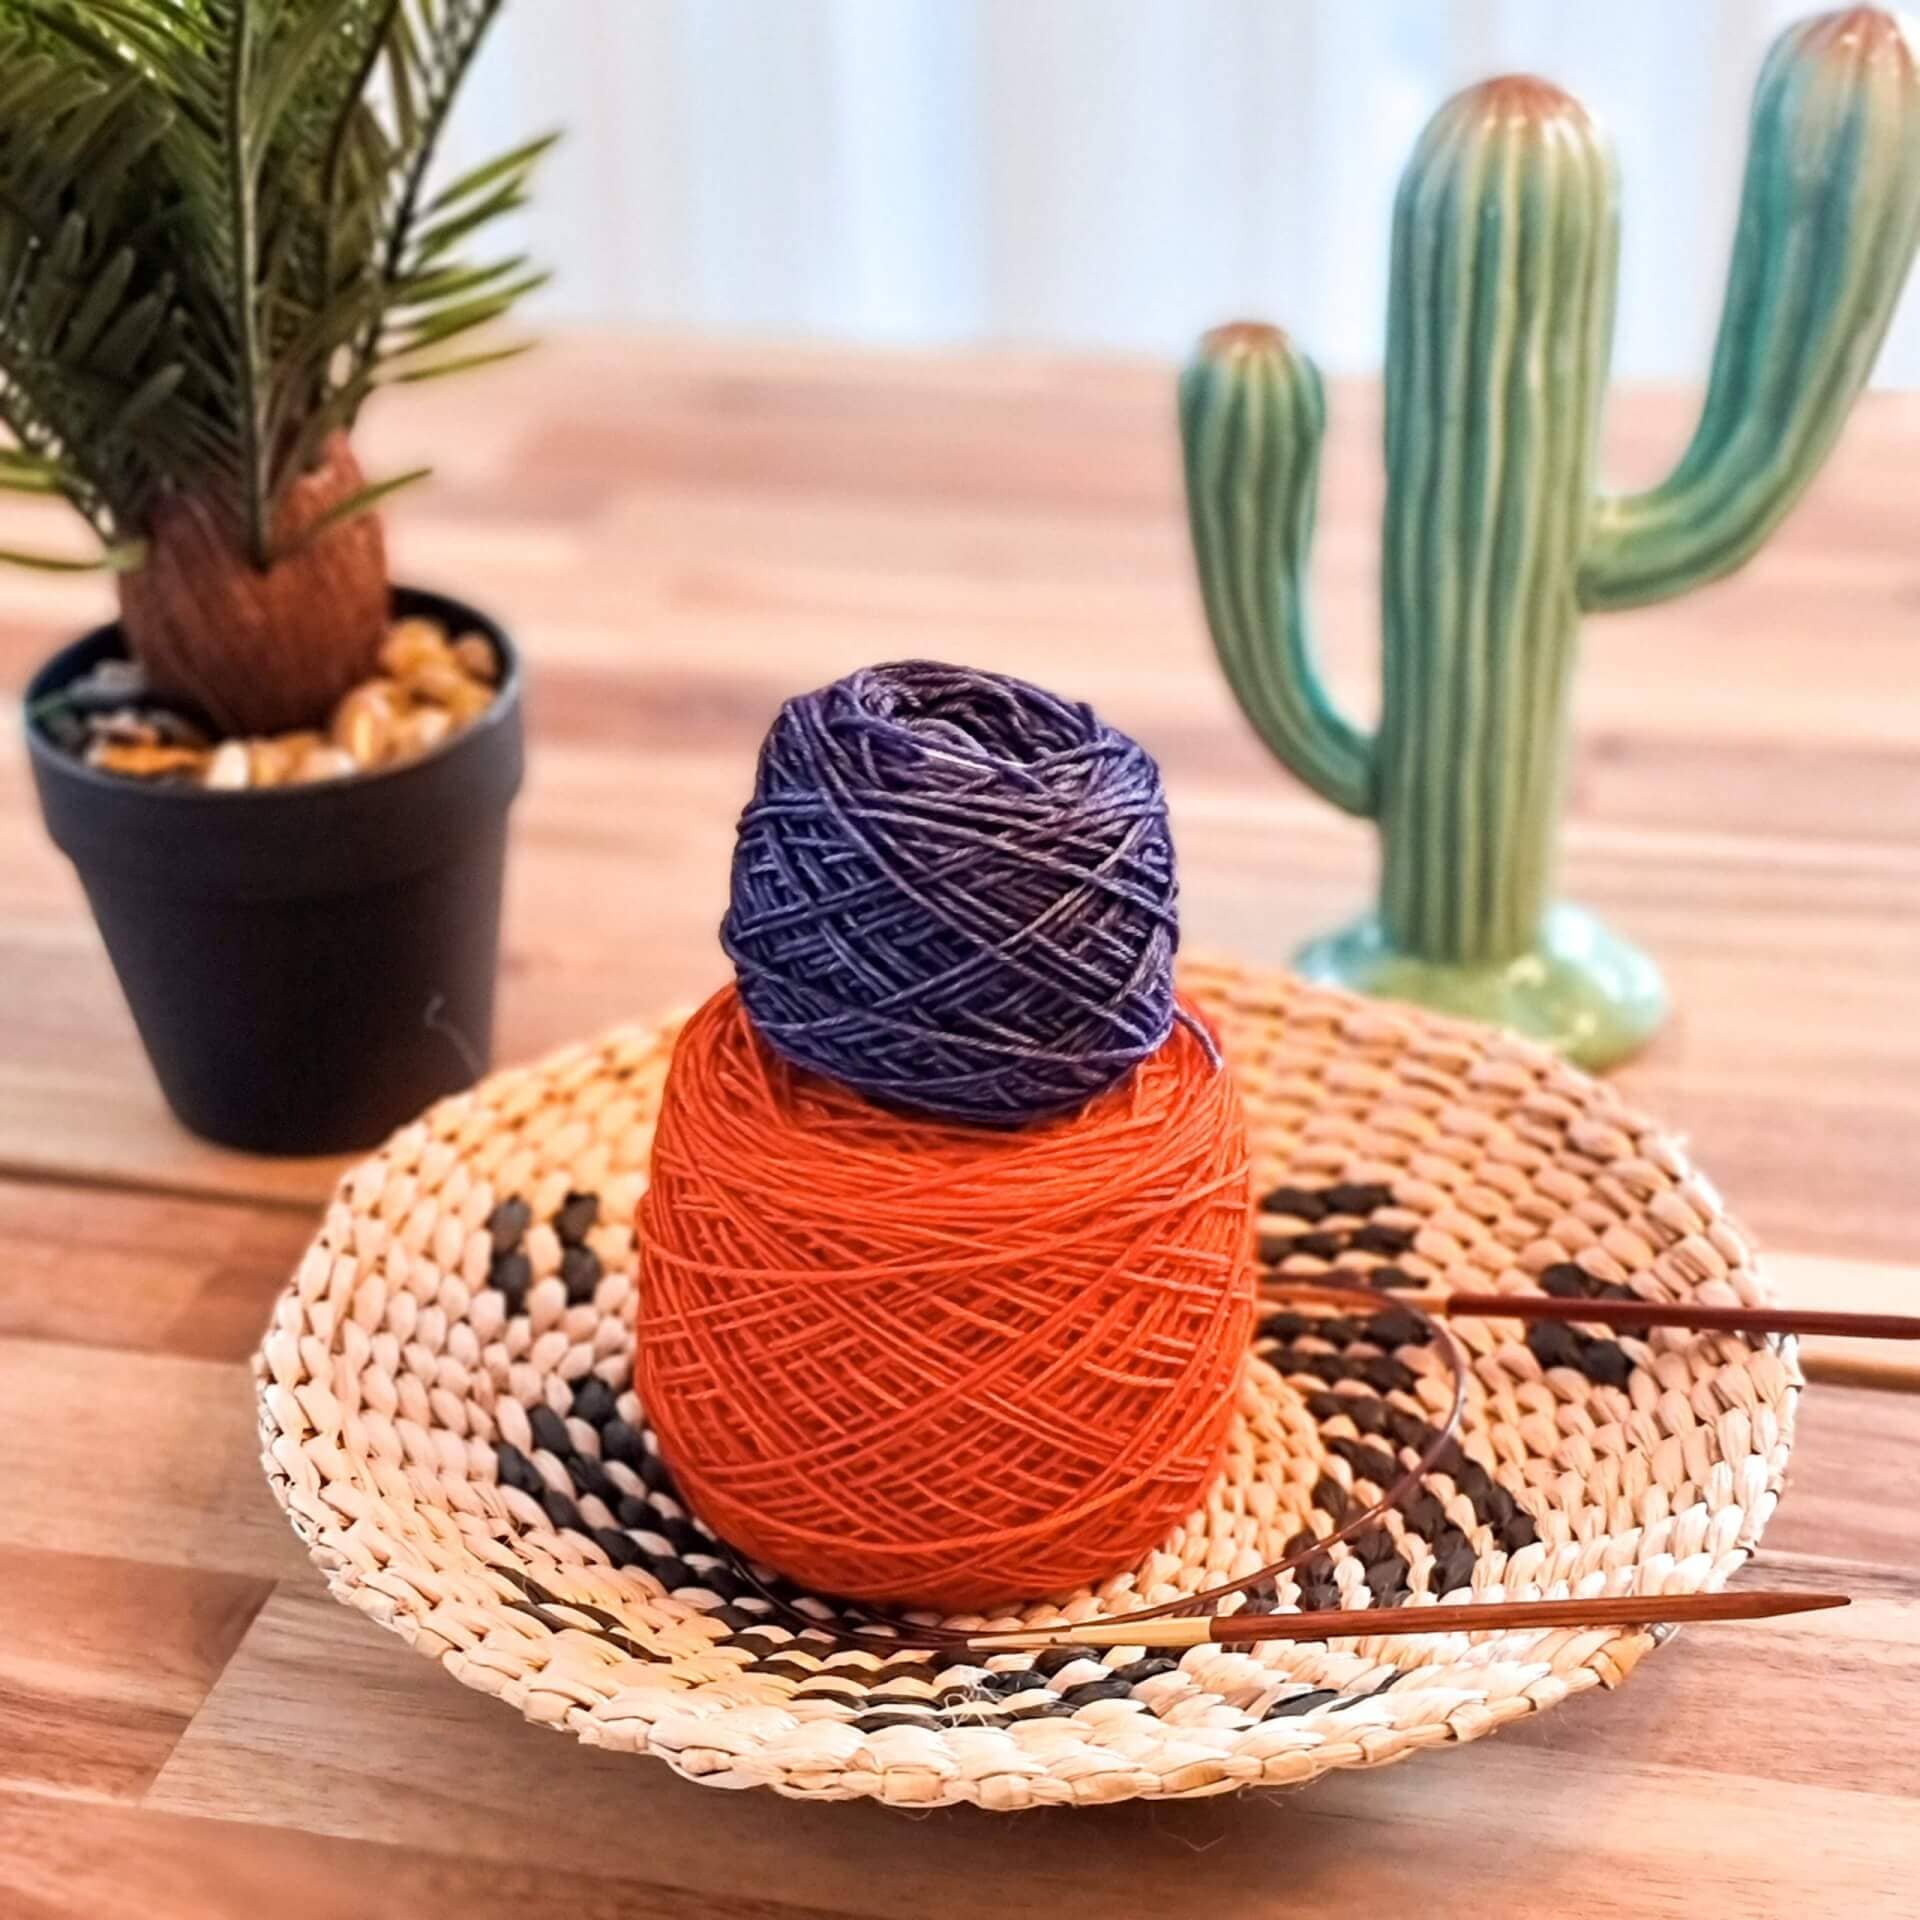
3. wind the Hank into a Ball or Cake
Most hand-dyed yarn comes in what’s called ‘hanks’. These are basically big loops of yarn. Do not try to knit directly from a hank, it will result in a big tangled mess! (ask me how I know…)
You could just loop the hank around the back of a chair or something similar to prevent it from tangling, but that’s a bit impractical, especially when you want to bring your project along with you. The solution is to wind the hank into a ball or cake. The quick and fancy version to do that (and which will result in a cake), is to get a yarn swift and winder. These are moderately expensive depending on the material and brand, but worth it to save you a lot of time if you wind loads of yarn.
The alternative is to wind by hand:
- Loop the hank around the back of a chair, or two heavy and sturdy objects (German beer steins work great!), or ask another person to hold out their hands
- Most hanks are held together with some strings. Find them and carefully snip them
- Find the beginning of the yarn – usually it is tied into a knot with the end, so snip that knot too
- Wind the yarn into a ball
4. Prewash your hand-dyed yarn
When you wash yarn, it can happen that a bit of color comes out and slightly discolors the water. I make sure when I dye that I fully exhaust and set the dye, and I rinse the yarn thoroughly afterward. Despite that, and due to differences in the water like mineral composition or hardness, it can still happen that a very small amount washes out. That is nothing to worry about and should disappear after a few rinses. If you however see big plumes of dark dye come out, that should not happen and please contact me!
It’s a good idea to wash your yarns separately before you knit. This is to ensure that the light yarn doesn’t discolor once you wash the finished project. This is more relevant if you combine very light colors like white, beige, or light grey with darker ones. I have to admit, for all other color combinations, I don’t do it…
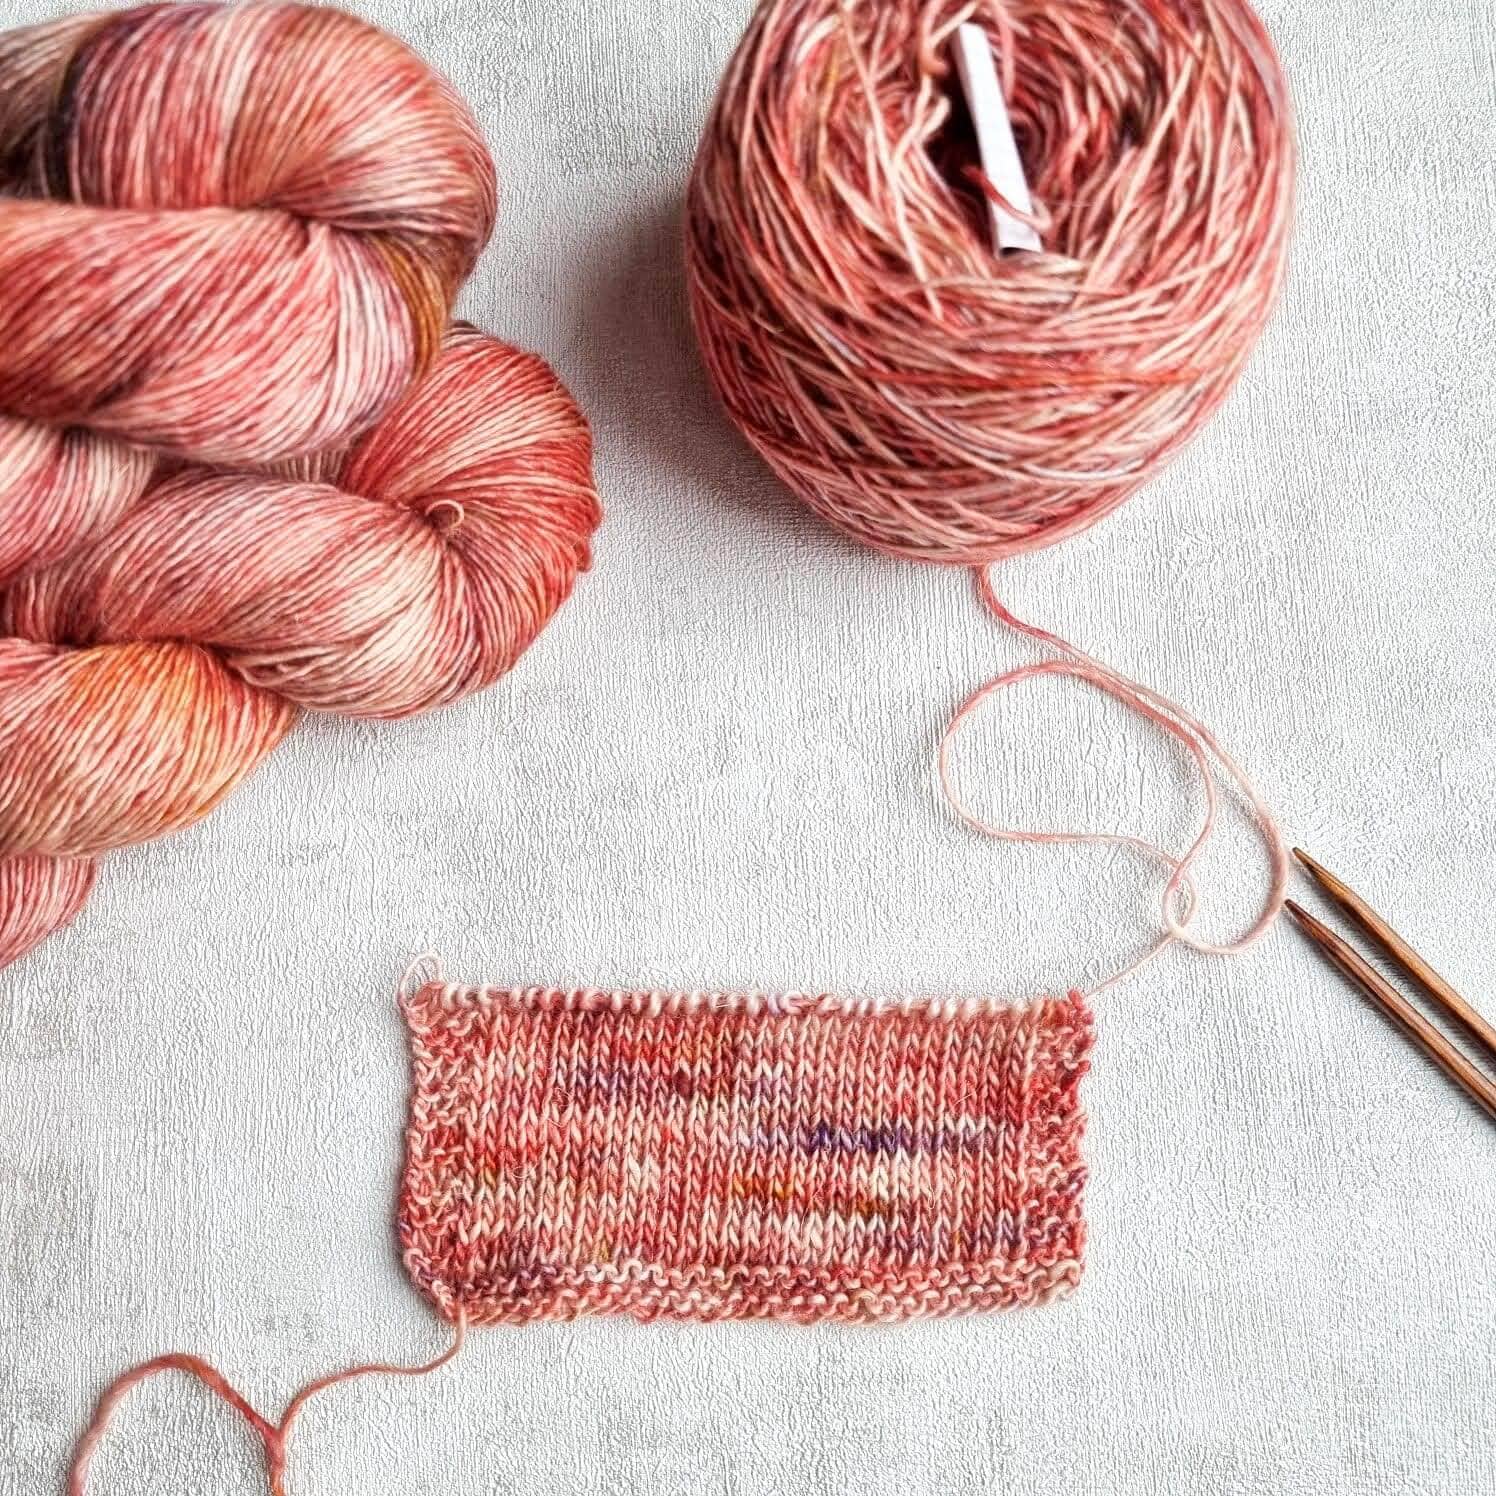
5. Swatch, and wash your swatch!
All my yarn bases are made of animal fibers (such as sheep, alpaca, or silk) which tend to relax when washed. Because of that, it’s important to make a small swatch, and wash it! Let it dry fully, and then use it to determine the gauge for your project. This is of course more important for wearables such as sweaters or socks, and less for other things where the final measurements aren’t quite as crucial.
I know we are all excited when we start a new project and want to cast on right away, but I promise the time spent making and washing the swatch is worth it!
6. Combine colorful variegated yarns with calm neutrals
Yes, I know I said ‘5 things, but here’s a little extra tip for ya.
Many people fall in love with colorful variegated yarns but aren’t quite sure what to knit with them, being worried that the resulting garment is too wild. My favorite tip, in this case, is to combine the variegated yarn with a neutral! You can do stripes, or bigger or smaller accents depending on how colorful you like it. Or, even cooler, use it as a contrast color when knitting colorwork. Depending on the pattern, the effect will look a bit like stained glass windows! For example, “Gaudi” by Julie Knits in Paris, “Iris” by Marie Amelie, or “Birds of a Feather” by Andrea Mowry would all be great patterns for this.
I highly recommend perusing the patterns & projects on Ravelry for some more inspiration!